Professional backgrounds play a critical role in shaping the quality of a photograph.
A poorly chosen backdrop can distract, while a thoughtfully selected one elevates the image to professional standards.
Beginners often struggle to select the right backdrop for their work, while hobbyists may seek creative options that provide versatility.
Experienced photographers usually need practical solutions for studio or commercial projects.
Regardless of skill level, mastering background selection ensures consistency and impact in visual storytelling. Regardless of the setup, backdrops can be used for headshots, portraits, family photos, product photography, studio photoshoots, etc., and each of these setups can be enhanced with a proper background.
Chapter #1: Types of Photography Backgrounds
First, let us touch upon the most widespread types of photography backgrounds.
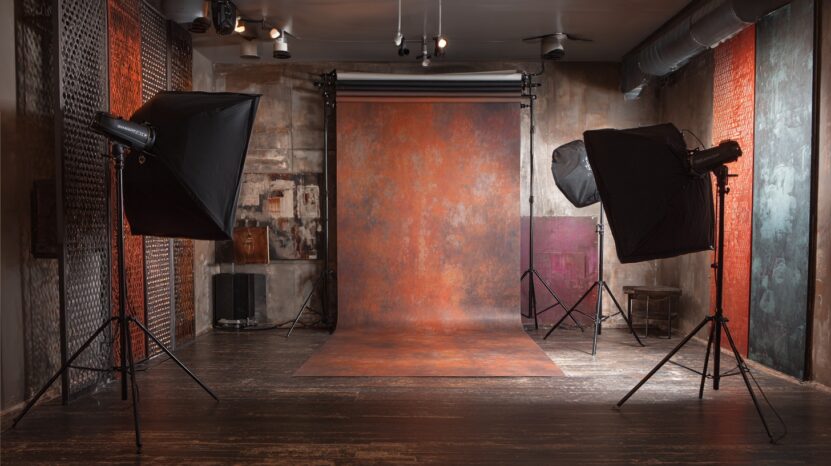
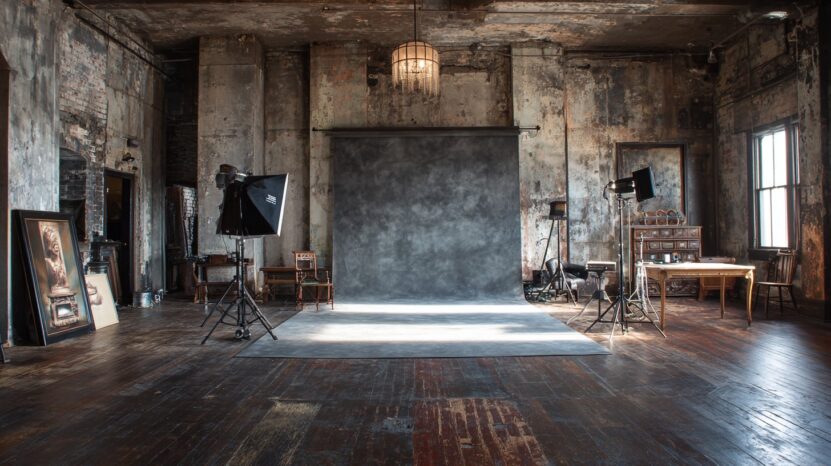
Seamless Paper
Seamless paper backgrounds dominate professional studios for portraits, fashion, and editorial work.
Available in a wide range of colors, they create smooth, shadow-free backdrops that photograph cleanly.
- Pros: Affordable, extensive variety of colors, easy to replace.
- Cons: Fragile, prone to creases, and difficult to transport.
- Pro tip: Use gaffer’s tape to secure rolls and prevent unspooling during setup.
Vinyl Backgrounds
Vinyl options are recommended when durability is required. They resist stains, are simple to wipe clean, and offer matte finishes that reduce glare under lights.
Popular sizes include 5×7 and 8×10 feet.
- Pros: Long-lasting, easy maintenance, professional matte surface.
- Cons: Heavy, inconvenient for travel.
Use cases include commercial headshots and product photography, where reliability is more important than portability.
Collapsible & Portable Backdrops
Collapsible designs cater to on-location photographers. Materials such as muslin fabric, foam core, or reversible panels provide versatility.
Pros: Lightweight, compact storage, convenient setup.
Cons: Limited in scale and customization.
Great for portrait sessions outdoors or small indoor shoots where mobility is essential.
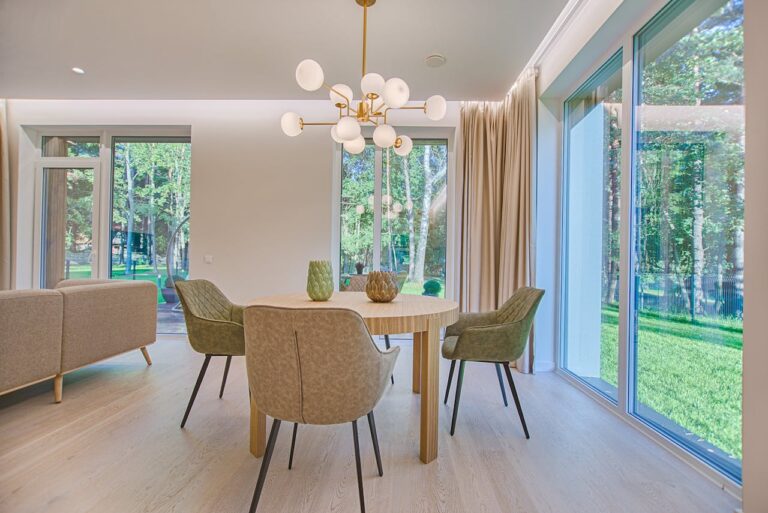
Environmental & Natural Backgrounds
Real-world locations bring authenticity to portraits, events, or lifestyle photography. Successful use requires attention to depth, color harmony, and avoidance of visual clutter.
Creative use of natural light can transform ordinary settings into professional-quality imagery. Framing subjects with trees, architecture, or textures adds visual strength without overpowering the subject.
Chapter #2: Choosing the Right Backdrop for Your Photography Genre

Every photography style requires a backdrop that aligns with its creative purpose.
Choosing wisely ensures the subject shines while the background enhances rather than distracts.
Portrait Photography
Portraits work best when the subject remains the focal point. A backdrop should support expressions and features without pulling attention away.
- Soft gradients or lightly textured fabrics add depth without overpowering.
- Muted tones such as beige, gray, or soft blue suit many clients.
- Darker shades create mood and drama for more artistic sessions.
Product Photography
Product shots demand clarity and minimalism. The backdrop must highlight the item, not compete with it.
- Neutral colors like white, black, or light gray are industry standards.
- Solid colors can reinforce brand identity when chosen strategically.
- Avoid reflective or patterned surfaces as they can overwhelm and reduce commercial effectiveness.
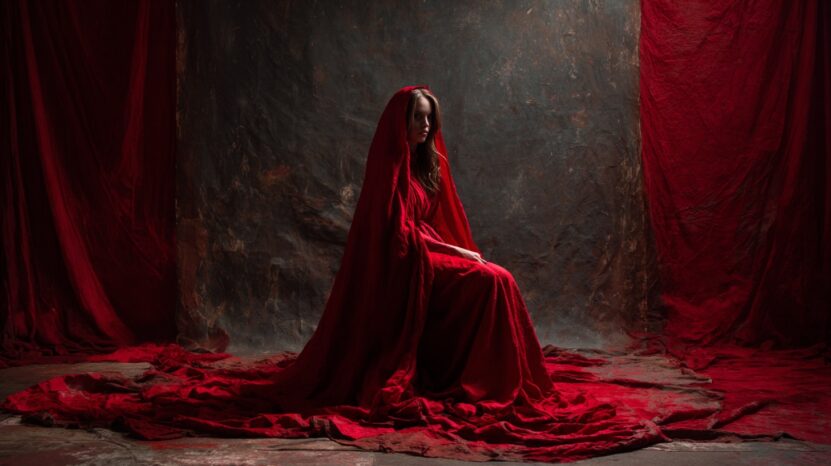
Fashion and Editorial Photography
Fashion imagery benefits from drama and creativity. Photographers often experiment with unique backdrops for photography to elevate clothing and accessories to magazine-level presentation.
- Bold fabrics, painted textures, and large-scale sets add flair.
- Choosing strong tones ensures garments pop with striking contrast.
Corporate Headshots
Professional headshots call for consistency and neutrality to project trust and credibility.
- Common choices include neutral gray, white, or muted blue.
- Uniform backdrops across employees help maintain a cohesive brand identity.
Chapter #3: Composition and Background Integration

Composition transforms a photograph by guiding how the subject interacts with its surroundings.
A well-chosen backdrop becomes an integral part of the composition instead of a passive setting. Placing the subject in alignment with the rule of thirds creates harmony that feels natural to the viewer.
Balanced placement avoids awkward empty spaces while maintaining focus where it matters most.
Leading lines act as visual guides. Roads, fences, or even walls can direct attention toward the subject, strengthening storytelling within the frame.
Foreground, middleground, and background layering further enhances depth, helping images feel dimensional rather than flat. This layering principle applies in both studio work and natural environments.
Framing techniques elevate images by isolating subjects within a structured boundary. Arches, tree branches, or doorways work as natural frames, while artificial props can serve similar purposes.
Proper integration ensures backgrounds support, not compete with, the subject. Photographs that achieve this balance often feel effortless but rely on deliberate planning.
Successful composition also requires awareness of distractions. Lines or patterns behind a subject may pull attention away, making careful observation before shooting essential.
When integration is handled well, both background and subject contribute to a unified story, suitable for personal projects, advertising campaigns, or editorial spreads.
Chapter #4: Lighting Your Background
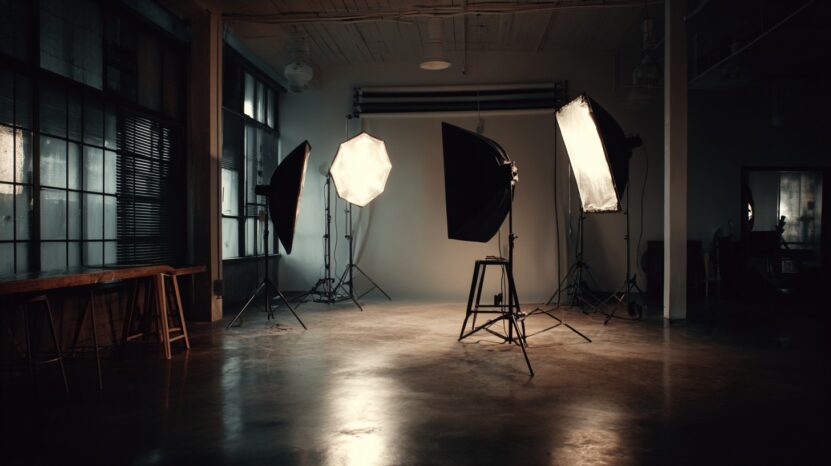
Lighting determines how a backdrop appears in final images. Without proper illumination, even the most carefully chosen backdrop loses its impact.
Intentional separation between subject and background prevents flat, uninteresting results.
A three-point lighting setup remains the most reliable solution. The key light defines the subject, the fill light softens shadows, and the backlight ensures separation.
When positioned carefully, this arrangement enhances both subject and backdrop without overpowering either.
Softboxes generate smooth gradients across surfaces, flattering both skin tones and materials. Umbrellas disperse light evenly for softer results, while reflectors redirect existing light to eliminate unwanted shadows.
Careful attention to placement prevents common issues such as light spills, hot spots, or harsh contrasts.
Backgrounds require adjustments depending on the genre. A darker backdrop benefits from a subtle rim light to ensure edges remain visible.
White or brightly colored backgrounds need balanced lighting to avoid overexposure. Every setup requires testing to guarantee harmony between the subject and the environment.
Lighting Tips:
- Use background lights to add separation.
- Adjust modifiers to avoid glare.
- Test exposure to balance subject and backdrop.
Chapter #5: Creating Depth and Texture

Depth in photography helps transform a flat image into one that feels immersive. Background blur and bokeh, remain essential tools for achieving this effect.
A wide aperture isolates the subject, softens distractions, and creates a polished, professional look.
Not every project benefits from blur, though. Textured backdrops such as faux brick, wood, or heavy fabric introduce character when sharpness is maintained.
Flat backdrops, in contrast, serve best when the subject must remain completely dominant.
White, black, or gray backgrounds eliminate all distractions, ideal for corporate or product work. Texture or blur may distract in such cases.
Decision-making relies on intent. If storytelling requires a contextual feel, textured or layered backgrounds work best.
If clarity is the priority, flat or blurred backgrounds create focus.
Experimentation helps photographers discover how different textures interact with lighting, composition, and subject placement.
Chapter #6: Budget & DIY Background Options
Not every photographer has access to premium equipment, yet professional results remain achievable with creativity.
Affordable solutions can transform everyday materials into effective photographic backdrops.
Poster boards in white or black provide inexpensive yet clean surfaces for small-scale product photography.
Fabric purchased from craft stores can be draped across walls or support stands to create soft backgrounds for portraits. Painted wood panels introduce rustic or industrial aesthetics for editorial work.
Curtains and bedsheets serve as versatile alternatives when styled properly, offering both solid colors and subtle patterns.
DIY support systems made of PVC pipes or lightweight frames allow photographers to build transportable backdrop stands. These cost-effective structures provide flexibility for both studio and on-location shoots.
Everyday textures such as textured walls, concrete, or wooden fences can also serve as practical options when framed correctly.
DIY Suggestions:
- Poster boards for simple, clean product shots.
- Fabric or curtains for soft portrait backgrounds.
- Painted panels for texture and variety.
- PVC pipe stands for affordable support.
Affordable experimentation allows beginners to build their skills without heavy investment. Many professionals continue using these solutions for creative effect, proving that results matter more than price tags.
Chapter #7: Post-Processing & Background Fixes

Even the best-planned shoots may require background adjustments during editing. Software like Lightroom or Photoshop provides tools to refine images for maximum impact.
Distractions such as stray objects, uneven lighting, or blemishes can be removed with cloning and healing brushes.
Selective blurring enhances depth when natural bokeh is absent, while masking tools allow for precise adjustments without affecting subjects.
Color grading further ensures tonal harmony, creating consistency across a portfolio.
Adjusting saturation and contrast helps backgrounds complement rather than overpower.
In commercial photography, background edits often ensure alignment with brand identity. Consistent tones across headshots or product images reinforce professionalism.
For creative projects, post-processing opens the door to experimentation, allowing artists to push boundaries with altered colors or textures.
Post-Processing Fixes:
- Clone out unwanted elements.
- Apply selective blur for depth.
- Color grade for tonal harmony.
- Adjust saturation to suit subject.
Subtlety is key. Over-editing can create artificial results that distract instead of enhancing.
Skilled editing ensures backgrounds support the subject, completing the photograph with polish and professionalism.
Chapter #8: Advanced Techniques for Professionals
Professional photographers often seek innovative methods to elevate their work. Colored gels applied to lights introduce mood and variety, transforming neutral backdrops into striking compositions.
Subtle shifts in hue can dramatically change the emotional tone of an image.
Composite techniques expand creative freedom by combining subjects with entirely different digital backgrounds.
This approach proves especially useful in advertising campaigns where elaborate scenes would be costly to build physically.
Consistency becomes essential for branding. Businesses often require uniform backgrounds across campaigns to maintain visual identity.
Professionals achieve this by standardizing setups and maintaining careful records of lighting and positioning.
Tethered shooting represents another powerful tool. By connecting cameras to computers, photographers can view images instantly and make adjustments on the spot.
Clients can also preview results in real time, reducing the need for reshoots and increasing efficiency.
Professional Techniques:
- Colored gels for creative lighting.
- Composite backgrounds for expanded possibilities.
- Standardized setups for branding.
- Tethered shooting for instant feedback.
Mastery of these techniques provides control over every visual element, reinforcing expertise and ensuring high-quality results across diverse projects.
Summary
Mastery of backgrounds separates casual snapshots from professional photography.
Experimentation leads to creative growth, and experimenting with proper backdrops for photography encourages innovation in every shoot.
Confidence grows as photographers learn to adapt backdrops to genre, subject, and style.
With proper knowledge of lighting, composition, and storage, any image can be elevated to professional standards.